Raise your hand if you've ever used YouTube to find life-saving tutorials . There are many of us, just as I feared. Whether it's due to a lack of knowledge, how boring a manual is, or an insatiable desire to make our lives simpler, the idea of condensing hours of work into a five-minute video is too tempting to pass up.
Following this premise, at Línea Gráfica we have set ourselves the rigorous mission of teaching you how to install the latest version of PrestaShop 1.7 on your web server in the simplest way possible. In less time than you can imagine, you will have your online store prepared and ready to go.
This starts fast, so take note and have the following requirements ready:
- Server space at a hosting provider and domain name
- FTP Client
- Text editor
- A pinch of patience
Download the latest version of PrestaShop 
The first step is to download the latest version of PrestaShop 1.7 from the website. You will only find one download link on the page, so don't worry: that's the one you need.
Start downloading the “ prestashop_1.7 ” file, save it to your Desktop (for those who are absent-minded) and unzip it using some of the most commonly used tools for Zip files, such as: WinRAR, WinZip Mac or 7-zip, among many others.
Inside this folder we will find three elements: “ prestashop.zip ” (the contents of the installation), “ Install_PrestaShop.html ” (a link to the online guide) and the “ index.php ” file that runs the installation.
At the moment you look at it but don't touch it.
Upload PrestaShop to the server
The really important thing about this second step of the installation is to make sure you have hosting space by establishing a connection between the computer and the server. How do we do it? Very easy, through any “ FTP Client ” tool: WinSCP or FileZilla, for example. We will use the second one because it is the simplest (and because of the couplet, of course).
Remember, if you have the
Next, connect to your hosting space via FileZilla using the connection details provided by your web host and transfer the three files from the PrestaShop download to the server. It's as simple as finding the Dashboard and selecting the “ PrestaShop ” folder in the “ Local site ” section of the FileZilla interface.

In the “ Remote site ” section on the right, browse to the target location where you want PrestaShop to be available (A subdomain, a subfolder, the root domain) and drag the downloaded files.
Create a database for the store
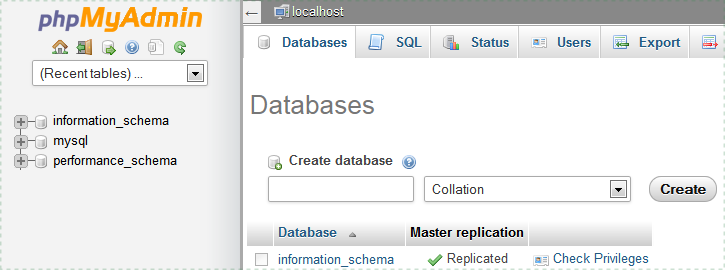
The first step to installing PrestaShop on your website is to make sure that there is a database on the MySQL server that will allow us to store the download data. What happens if we don't have one? Well, we'll have to create one using any tool that manages databases. phpMyAdmin, in addition to being free, is included in most hosting plans, so it would be the best option for installation.
Within phpMyAdmin, create a new database through the “ Databases ” menu from which we will establish our PrestaShop store.

Install PrestaShop 1.7
To open the installer, look for the file already hosted on your server and the “ prestashop.zip ” file will automatically be unzipped, enabling all PrestaShop files on the web server. Next, you will have to carefully read the messages that will appear on the screen. It will be much faster than you imagine, don’t worry.
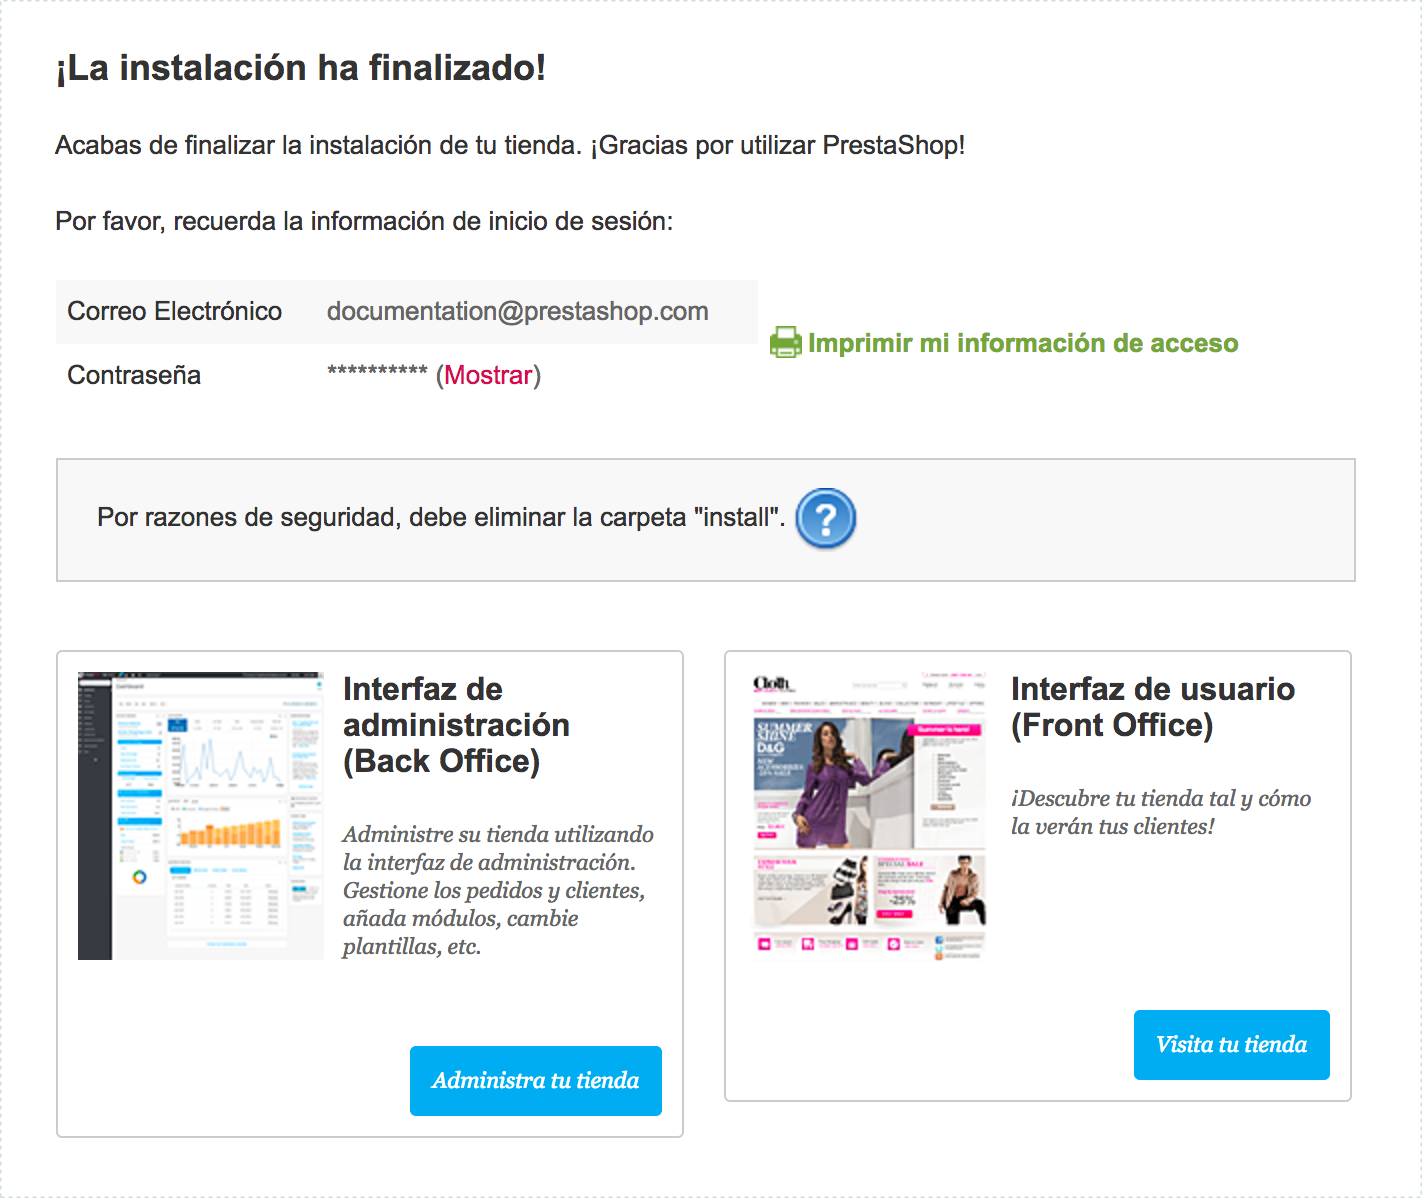
The process consists of six stages: 1) Choose a language 2) Confirm the requirements 3) Quick check of your host's server parameters to ensure system compatibility 4) Provide your store information 5) Form in which you can indicate the database and 6) Install the store: you can now start shaping it.

Secure our store
Before exiting the installer you need to delete some important files and folders to improve the security of the store. Use the FTP client and go directly to the server part. There we will delete the “ /install ” folder, the “ /docs ” folder and the “ README.md ” file, although these last two elements are optional. In addition, we can always rename the “ admin ” folder to something more secret, like “fandemisuegra” or “v1vAmitiendab0nita”. However, learn it well because from now on you will access the administration page with it.
To create an even more secure web environment, use your FTP client to update the permissions to 664 or 666 , provided that the access rights do not conflict with any PrestaShop modules. If so, no problem, set the file and folder permissions back to 755 .
Let's celebrate!
If you have reached this last step without too many problems, you are in luck. The installation is now complete and PrestaShop 1.7 is ready to receive your catalogue, brands, offers, payment method or shipping costs, among many other things.

Your adventure begins now, so you know: arm yourself with positivity and make your digital store synonymous with profitability and well-deserved success .
Any questions to resolve?
Please use the comments box to share your experience in detail. At Línea Gráfica we are experts in digital marketing and PrestaShop Platinum Partners, so if after the tutorial you need help with installation, just contact us. Our technicians work to help you get the most out of your online business.


